This is a follow-up to my previous Raw converter comparison – you can see that post for info on things like my motivation, basic processing methods, etc.
The goal in this case is just to test how well each raw editor – Aperture 3.6, Capture One 9 Pro, DxO Optics 10, and Lightroom CC 2015.3 – can lift an underexposed photo. For pedants, note that I’m specifically applying an overall exposure adjustment, not just shadow recovery, though I expect that fundamentally any ‘Shadow’ sliders in these editors are just a strict subset of their ‘Exposure’ sliders.
First, here’s the test image as it first appears when viewed in each of the contenders:
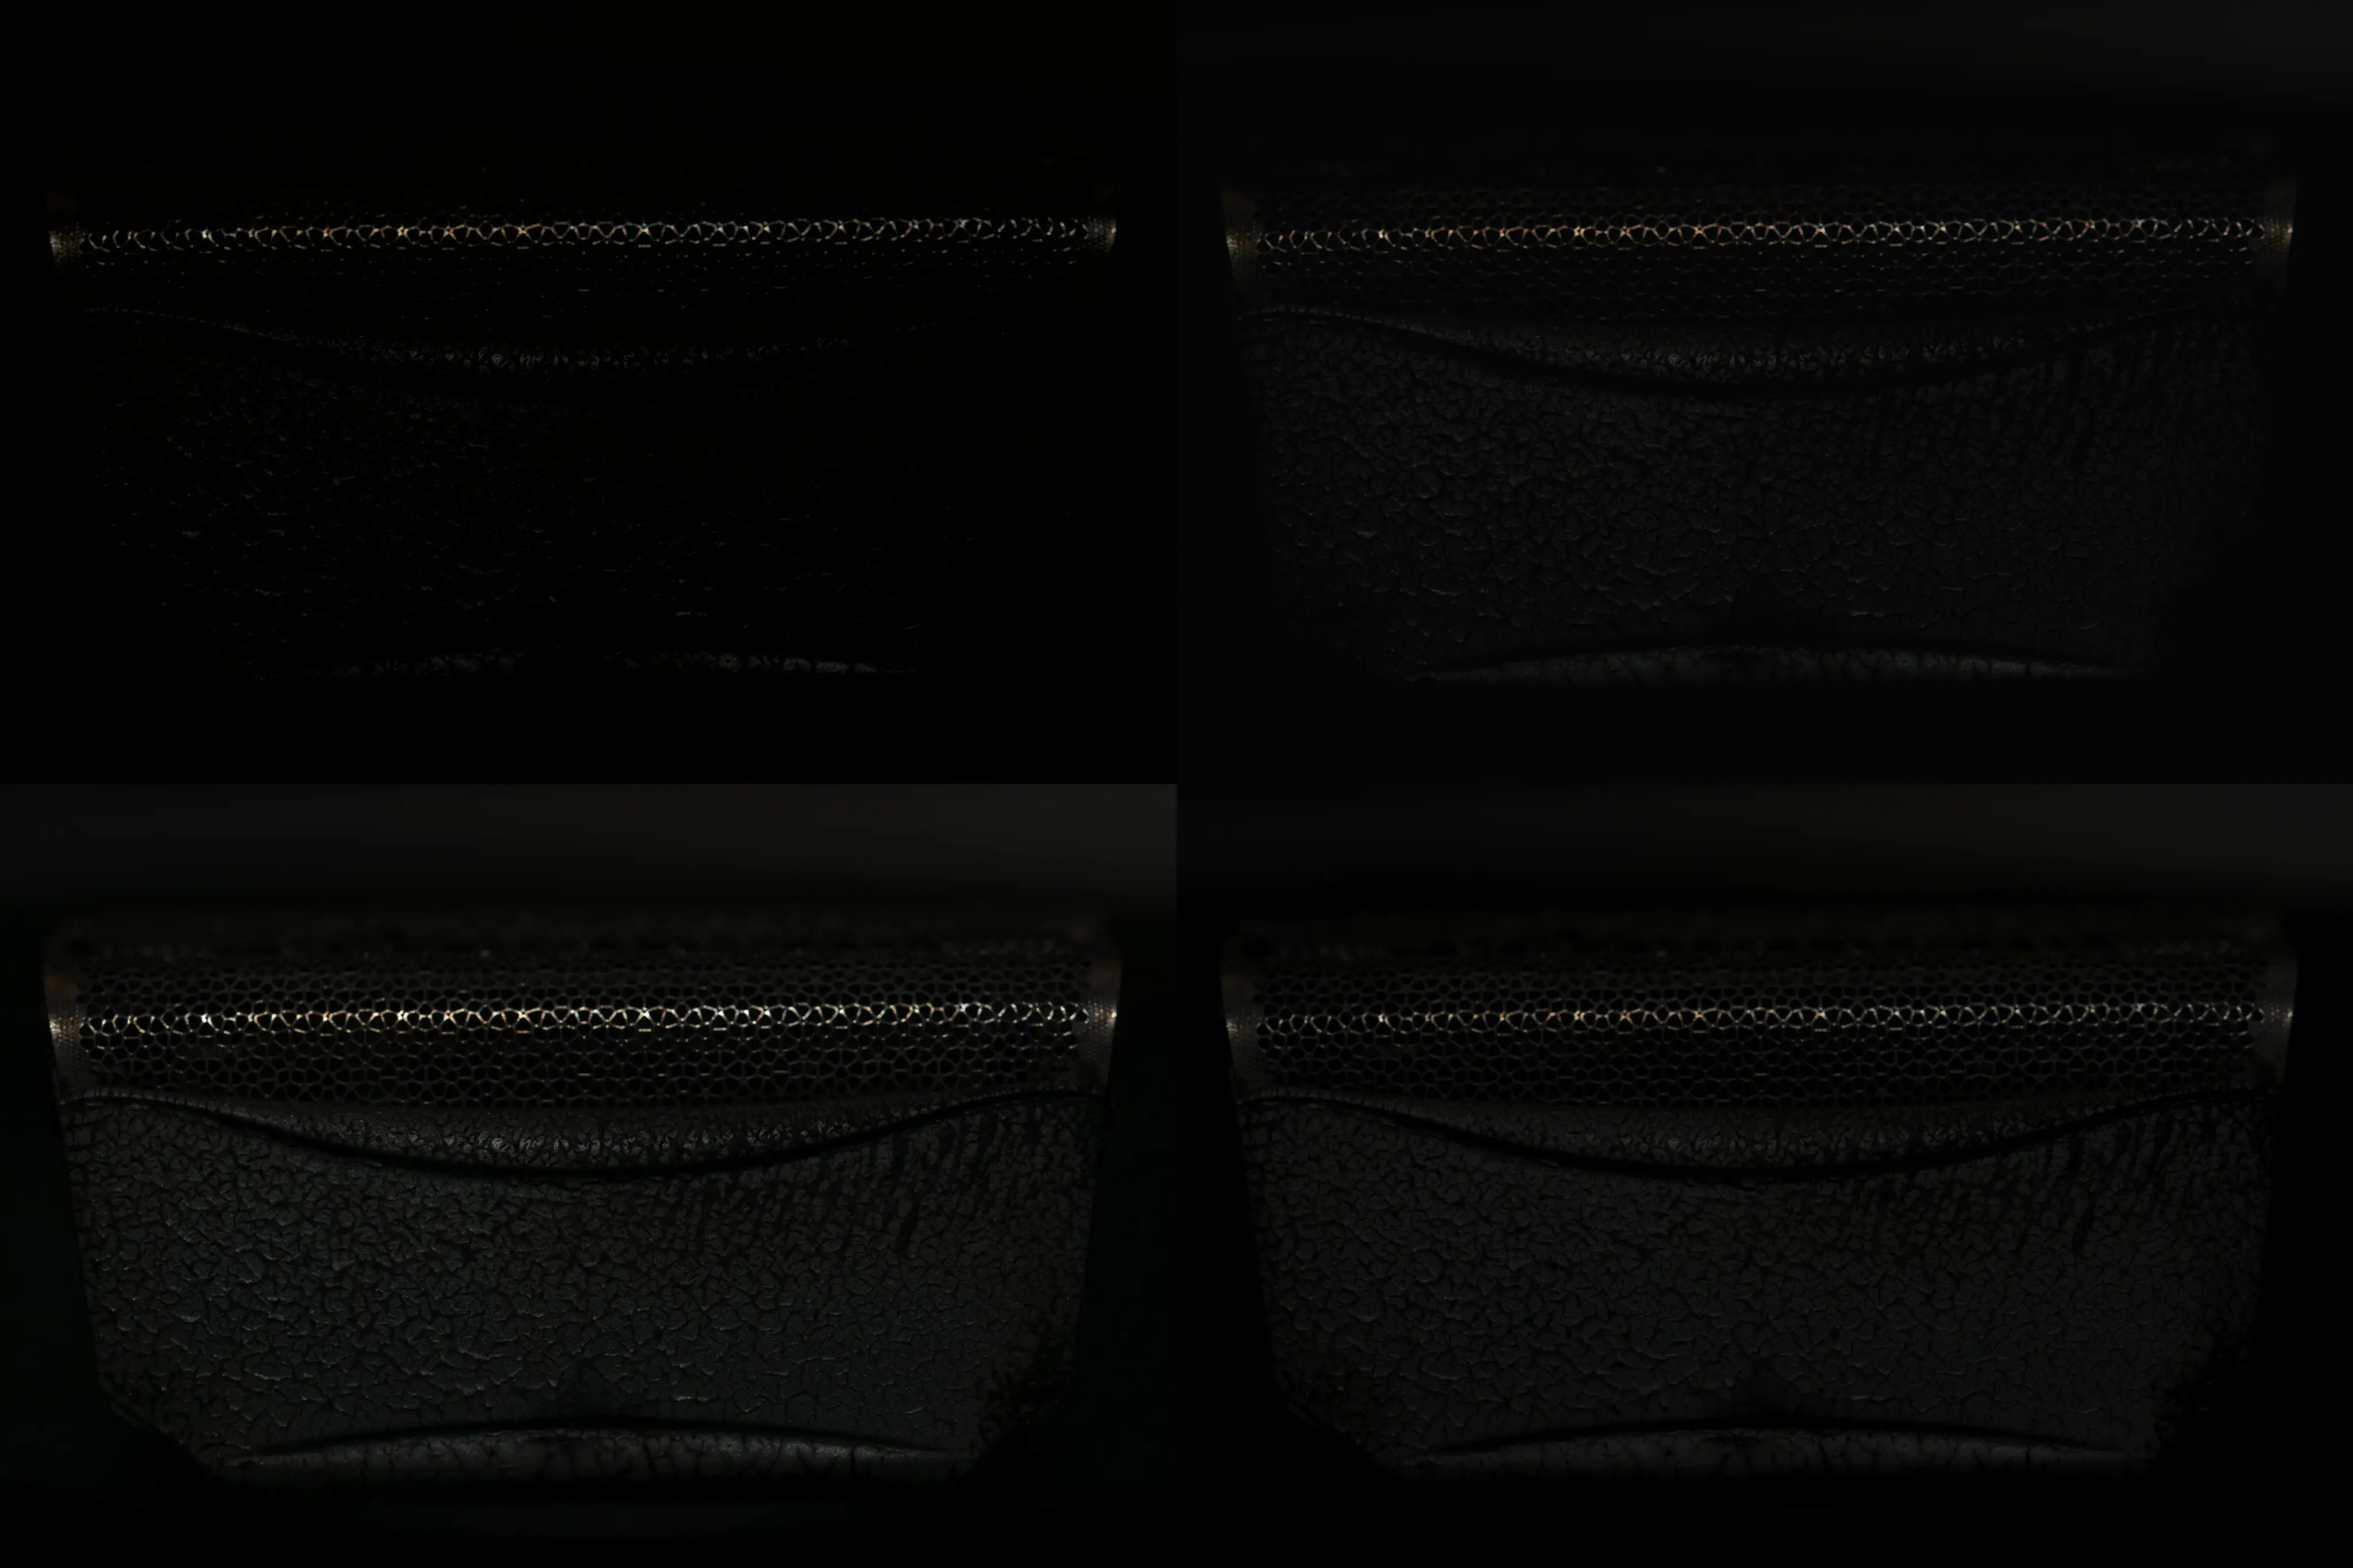
Some differences in how each raw converter operates by default, unsurprisingly. But clearly the photo is massively underexposed. In case you’re wondering, this was just setting up for a macro shoot, and for whatever reason the flashes didn’t fire in this exposure.
And below is the edited version. My goal here was to bring the photo up to a broadly ‘normal’ or ‘correct’ exposure. At first I assumed this would just mean some ‘Exposure’ adjustment applied identically between the four contenders, but it quickly became apparent that their adjustment tools just aren’t equivalent like that.
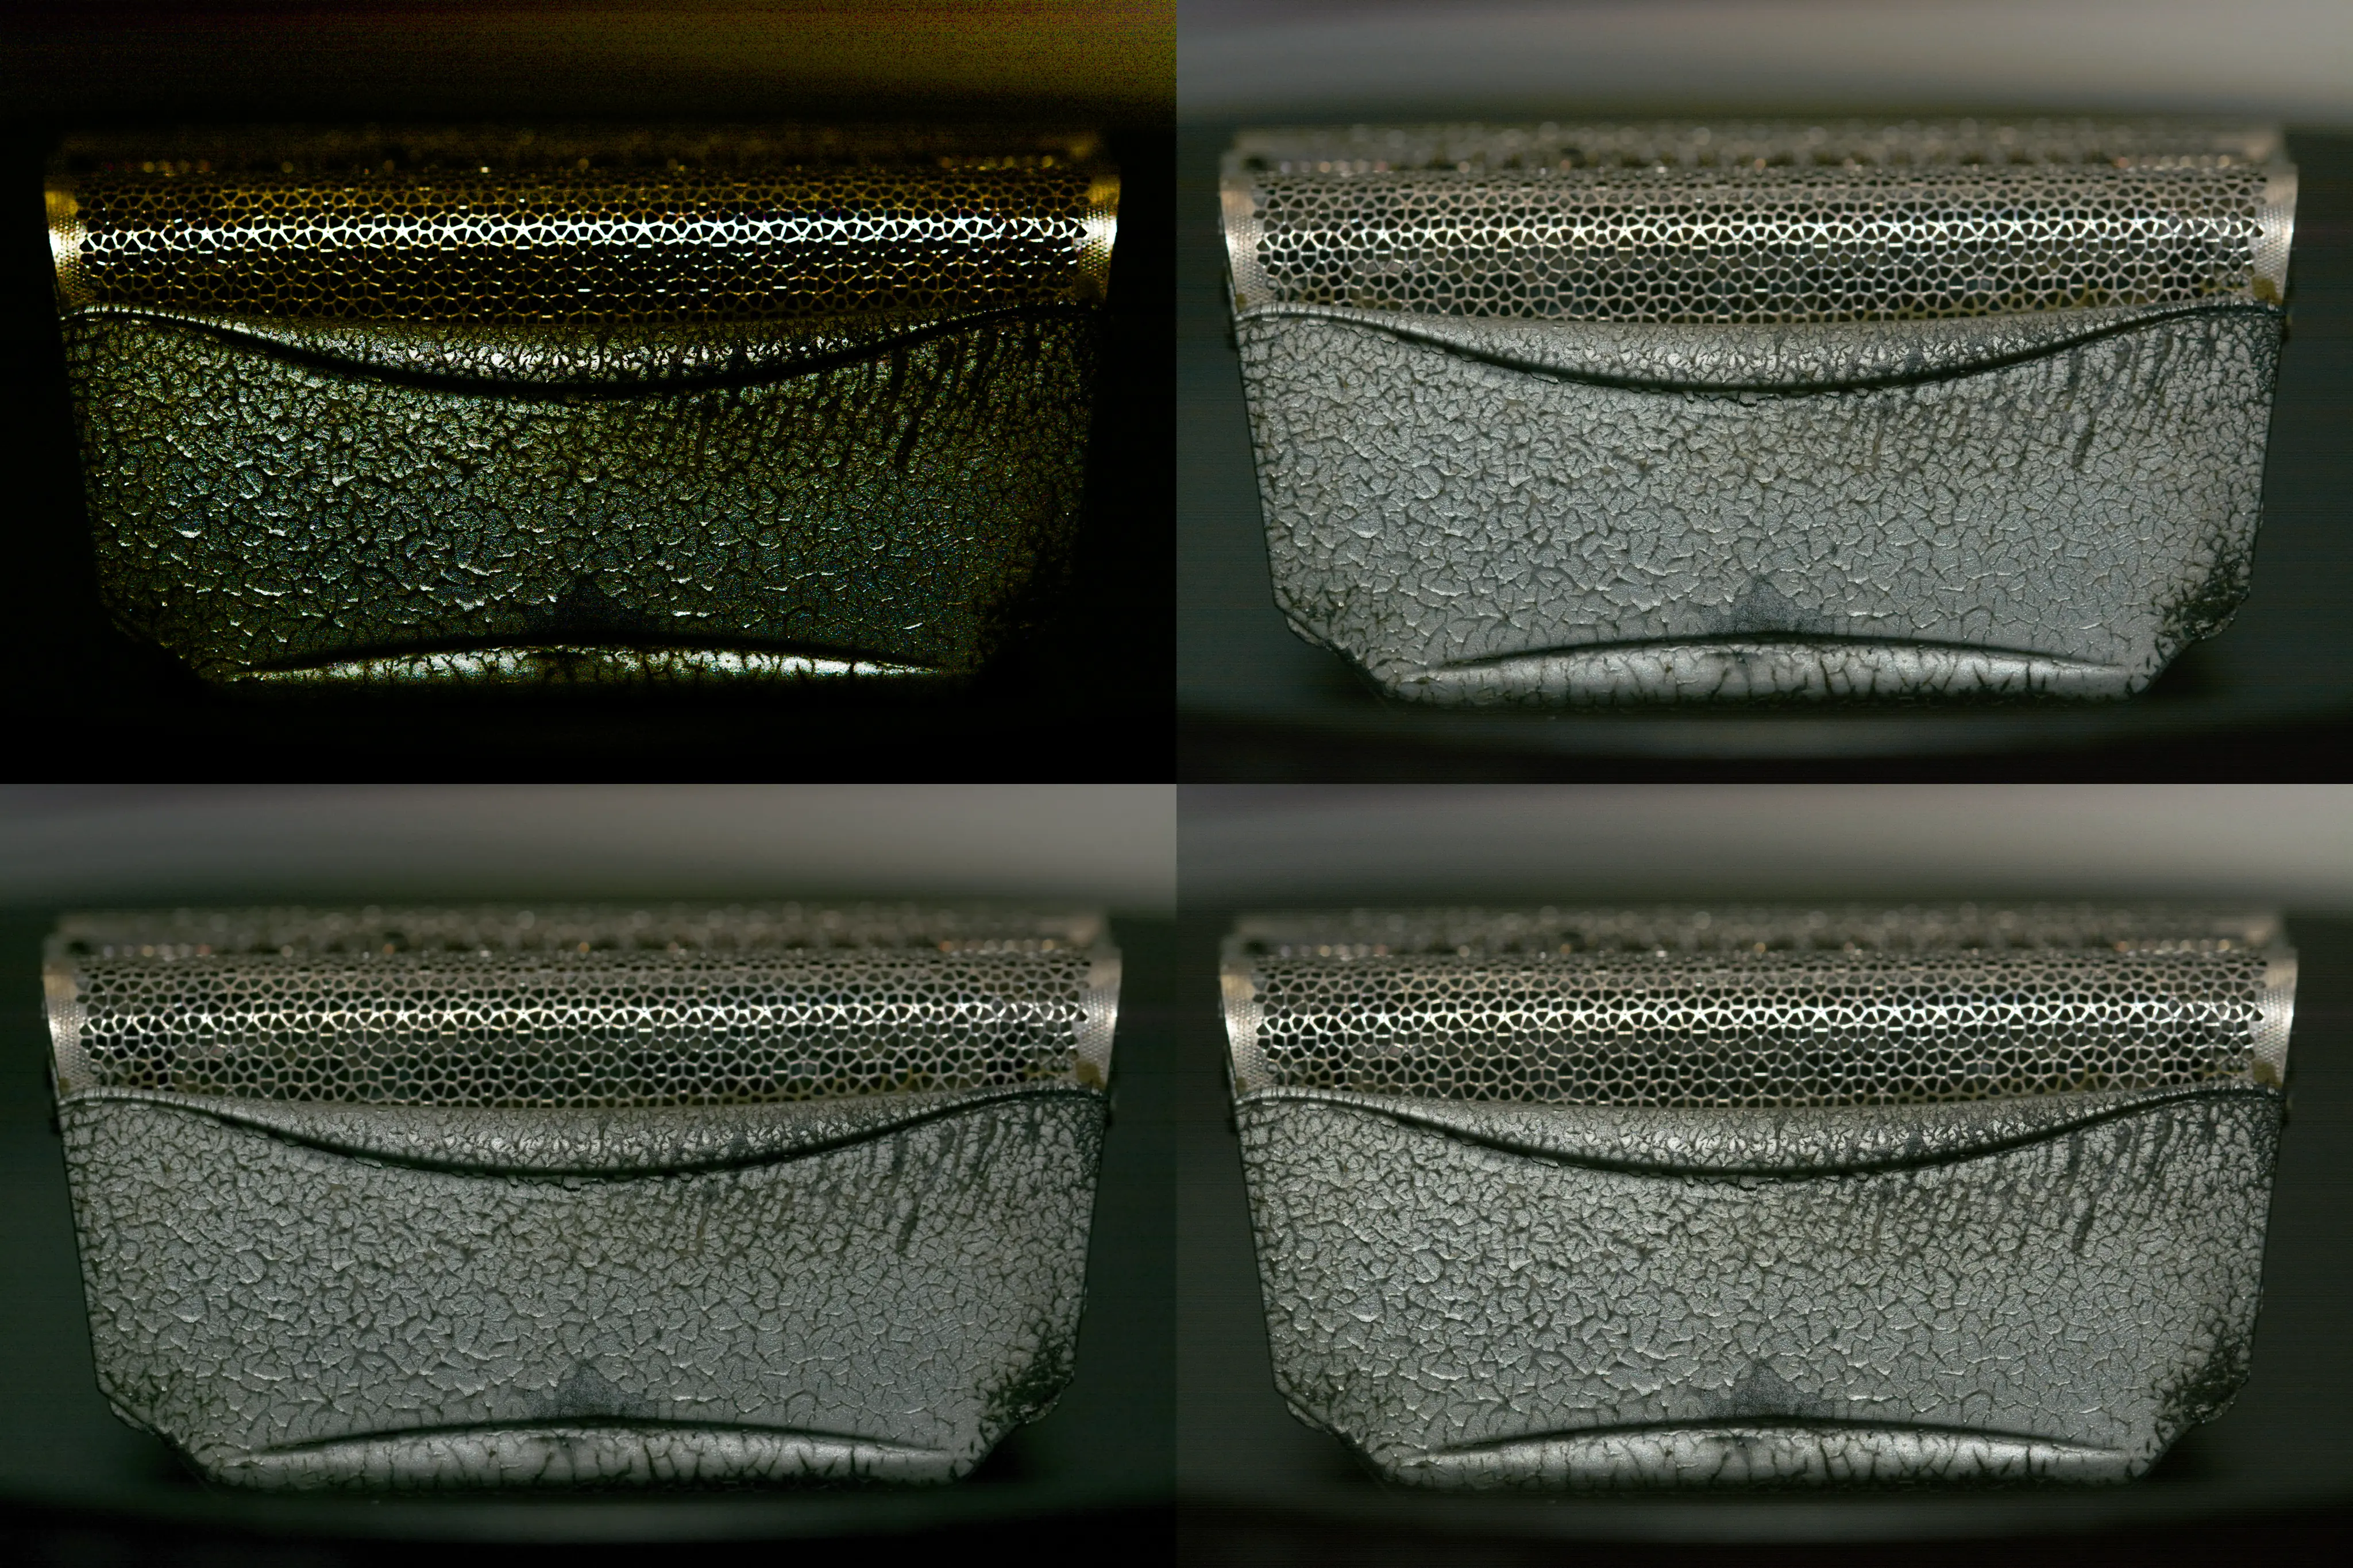
For reference, the adjustments made for each were:
- Aperture 3.6 – +6 exposure
- Capture One 9 Pro – +4 exposure, +35 brightness
- DxO Optics 10 – +3 exposure
- Lightroom CC 2015.3 – +5 exposure
The additional use of the ‘Brightness’ slider in Capture One was necessary because its ‘Exposure’ slider is hard-limited to ±4, obnoxiously.
Clearly one of these things is not like the other. Or, put another way:
Here’s a zoomed in view of a representative part of the image:
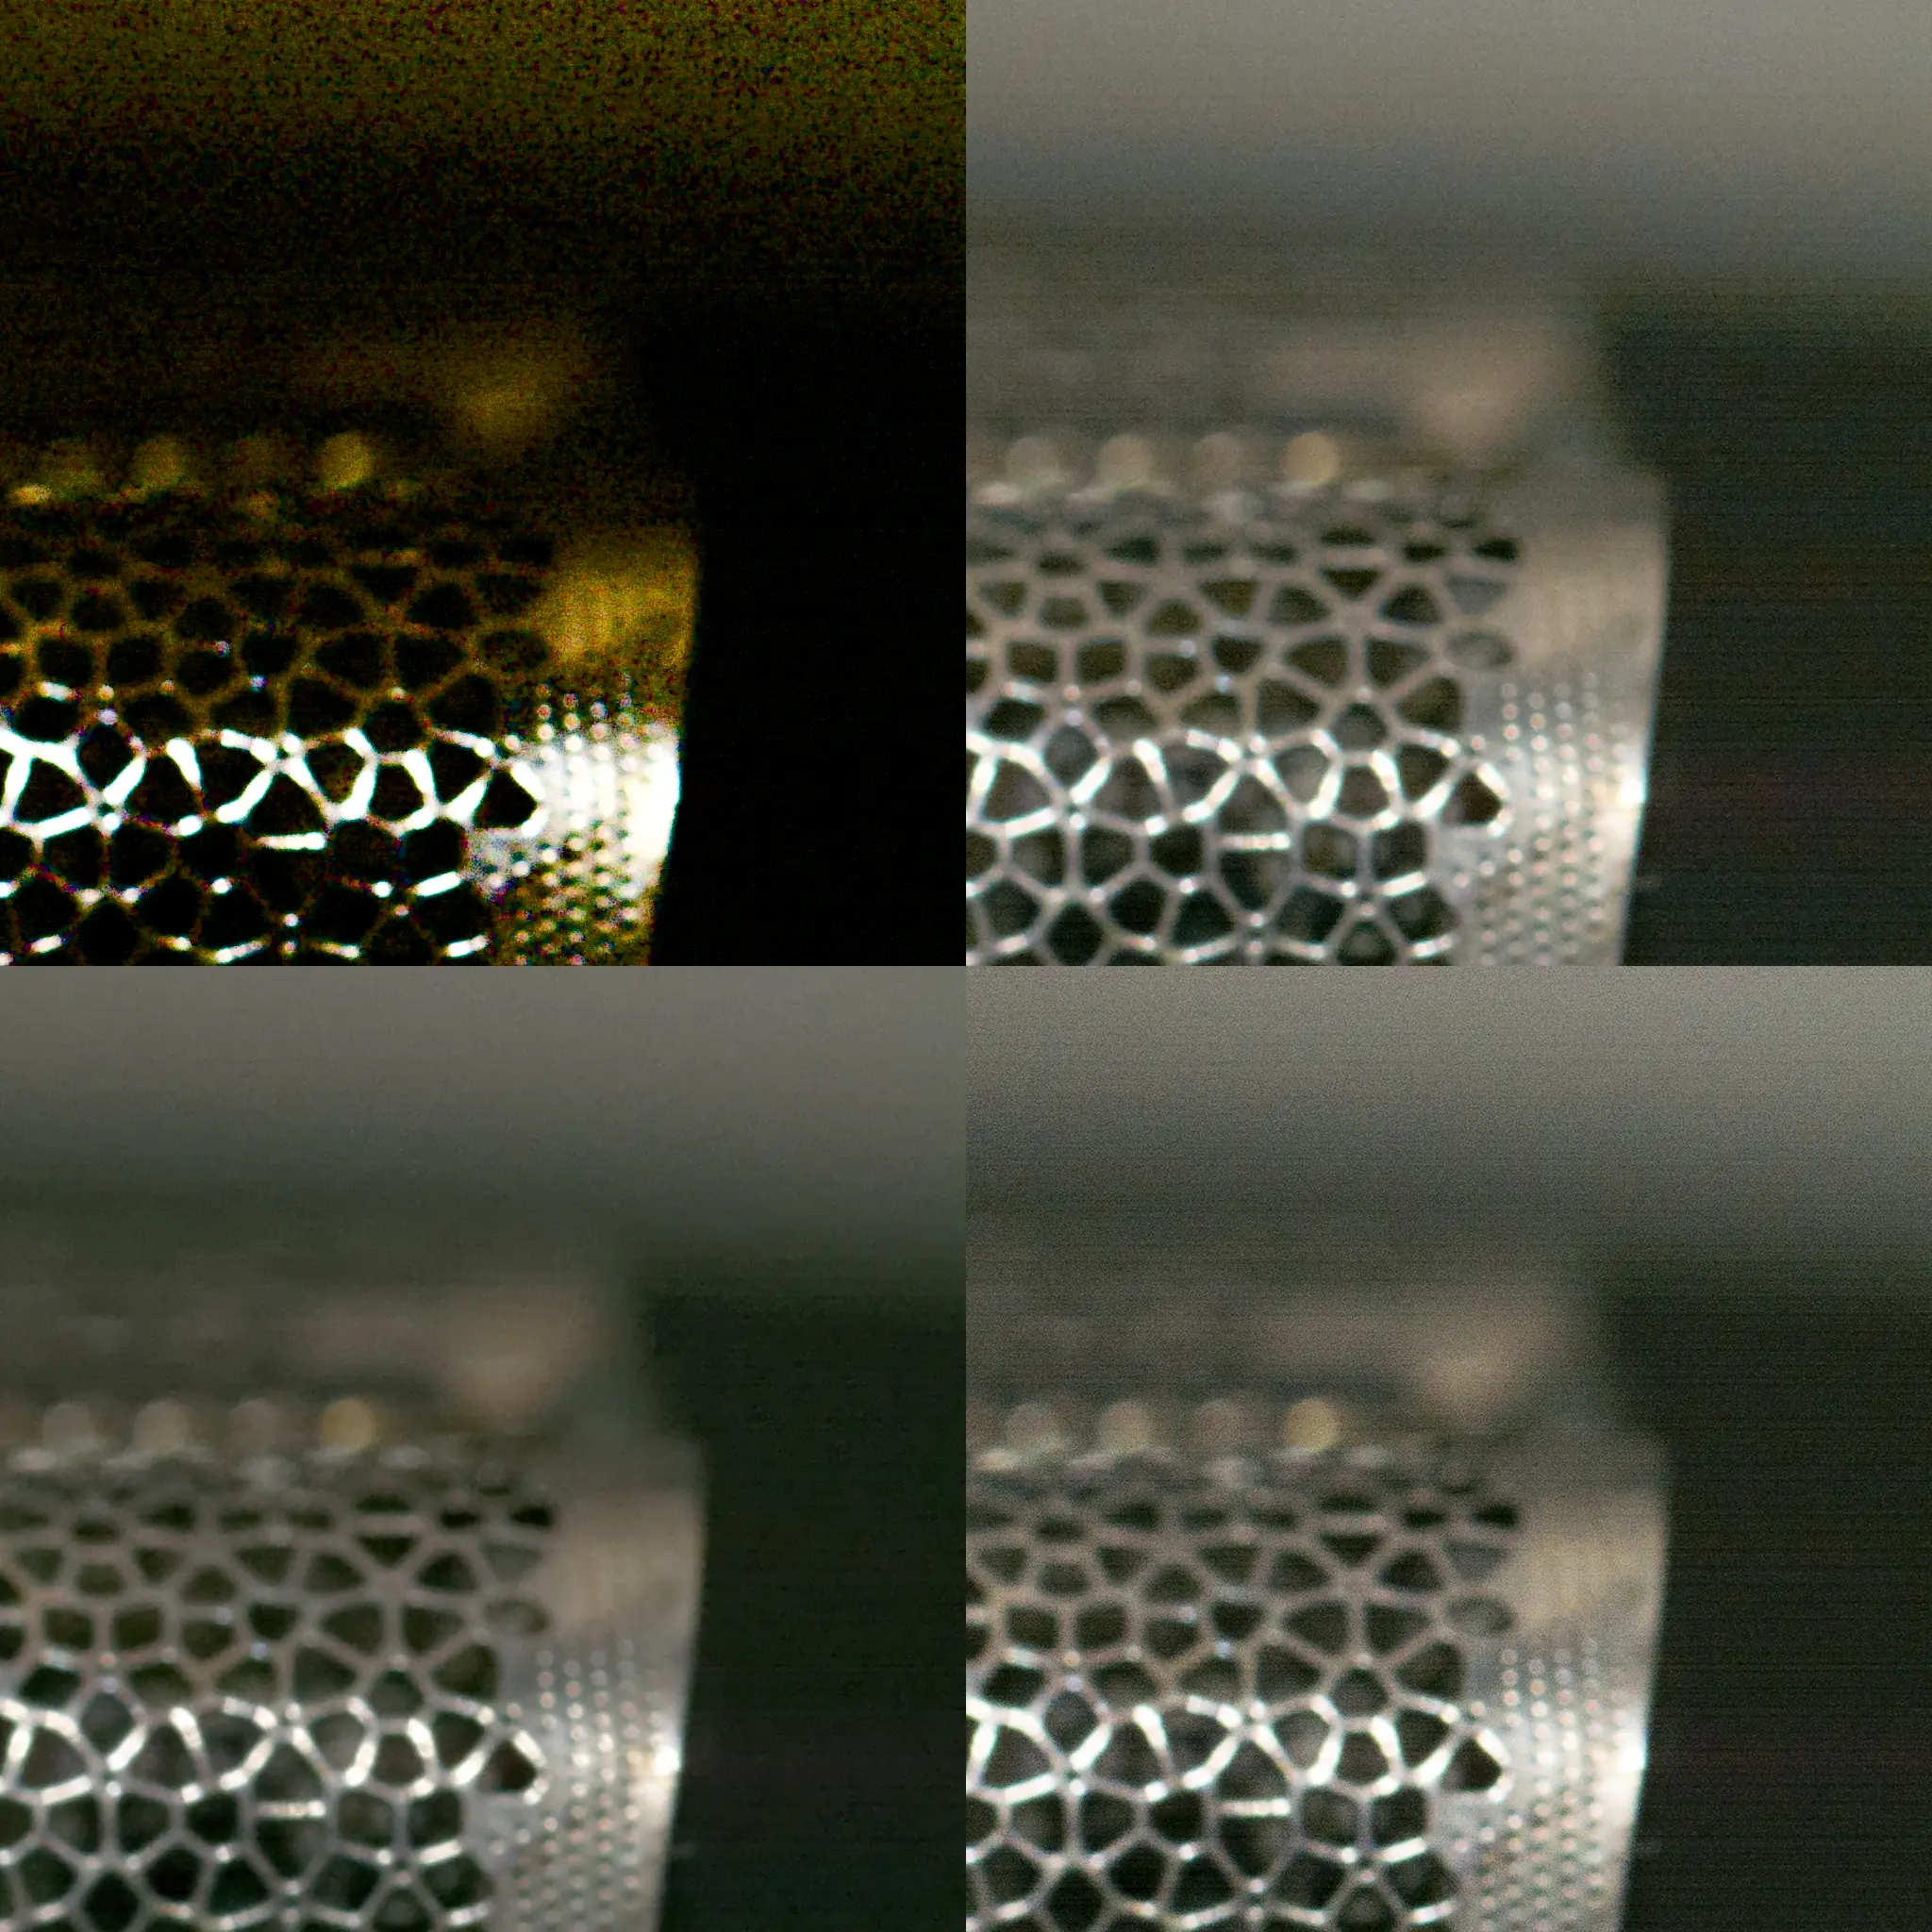
So, Aperture… enough said.
Amongst the other three, there’s lots of room for opinion. DxO Optics has applied much more noise reduction, to the point where it’s quite obvious and (in my opinion) a bit over-done. Capture One and Lightroom have done a similar job, though I think Capture One has done genuinely better at suppressing the banding, and the noise in certain areas – particularly the midtones.
Now, this section of the image is out of focus. A necessary question – given it appears the main difference is simply in the noise reduction being applied – is how well genuine detail is retained. So here’s a second 100% clipping from the image:
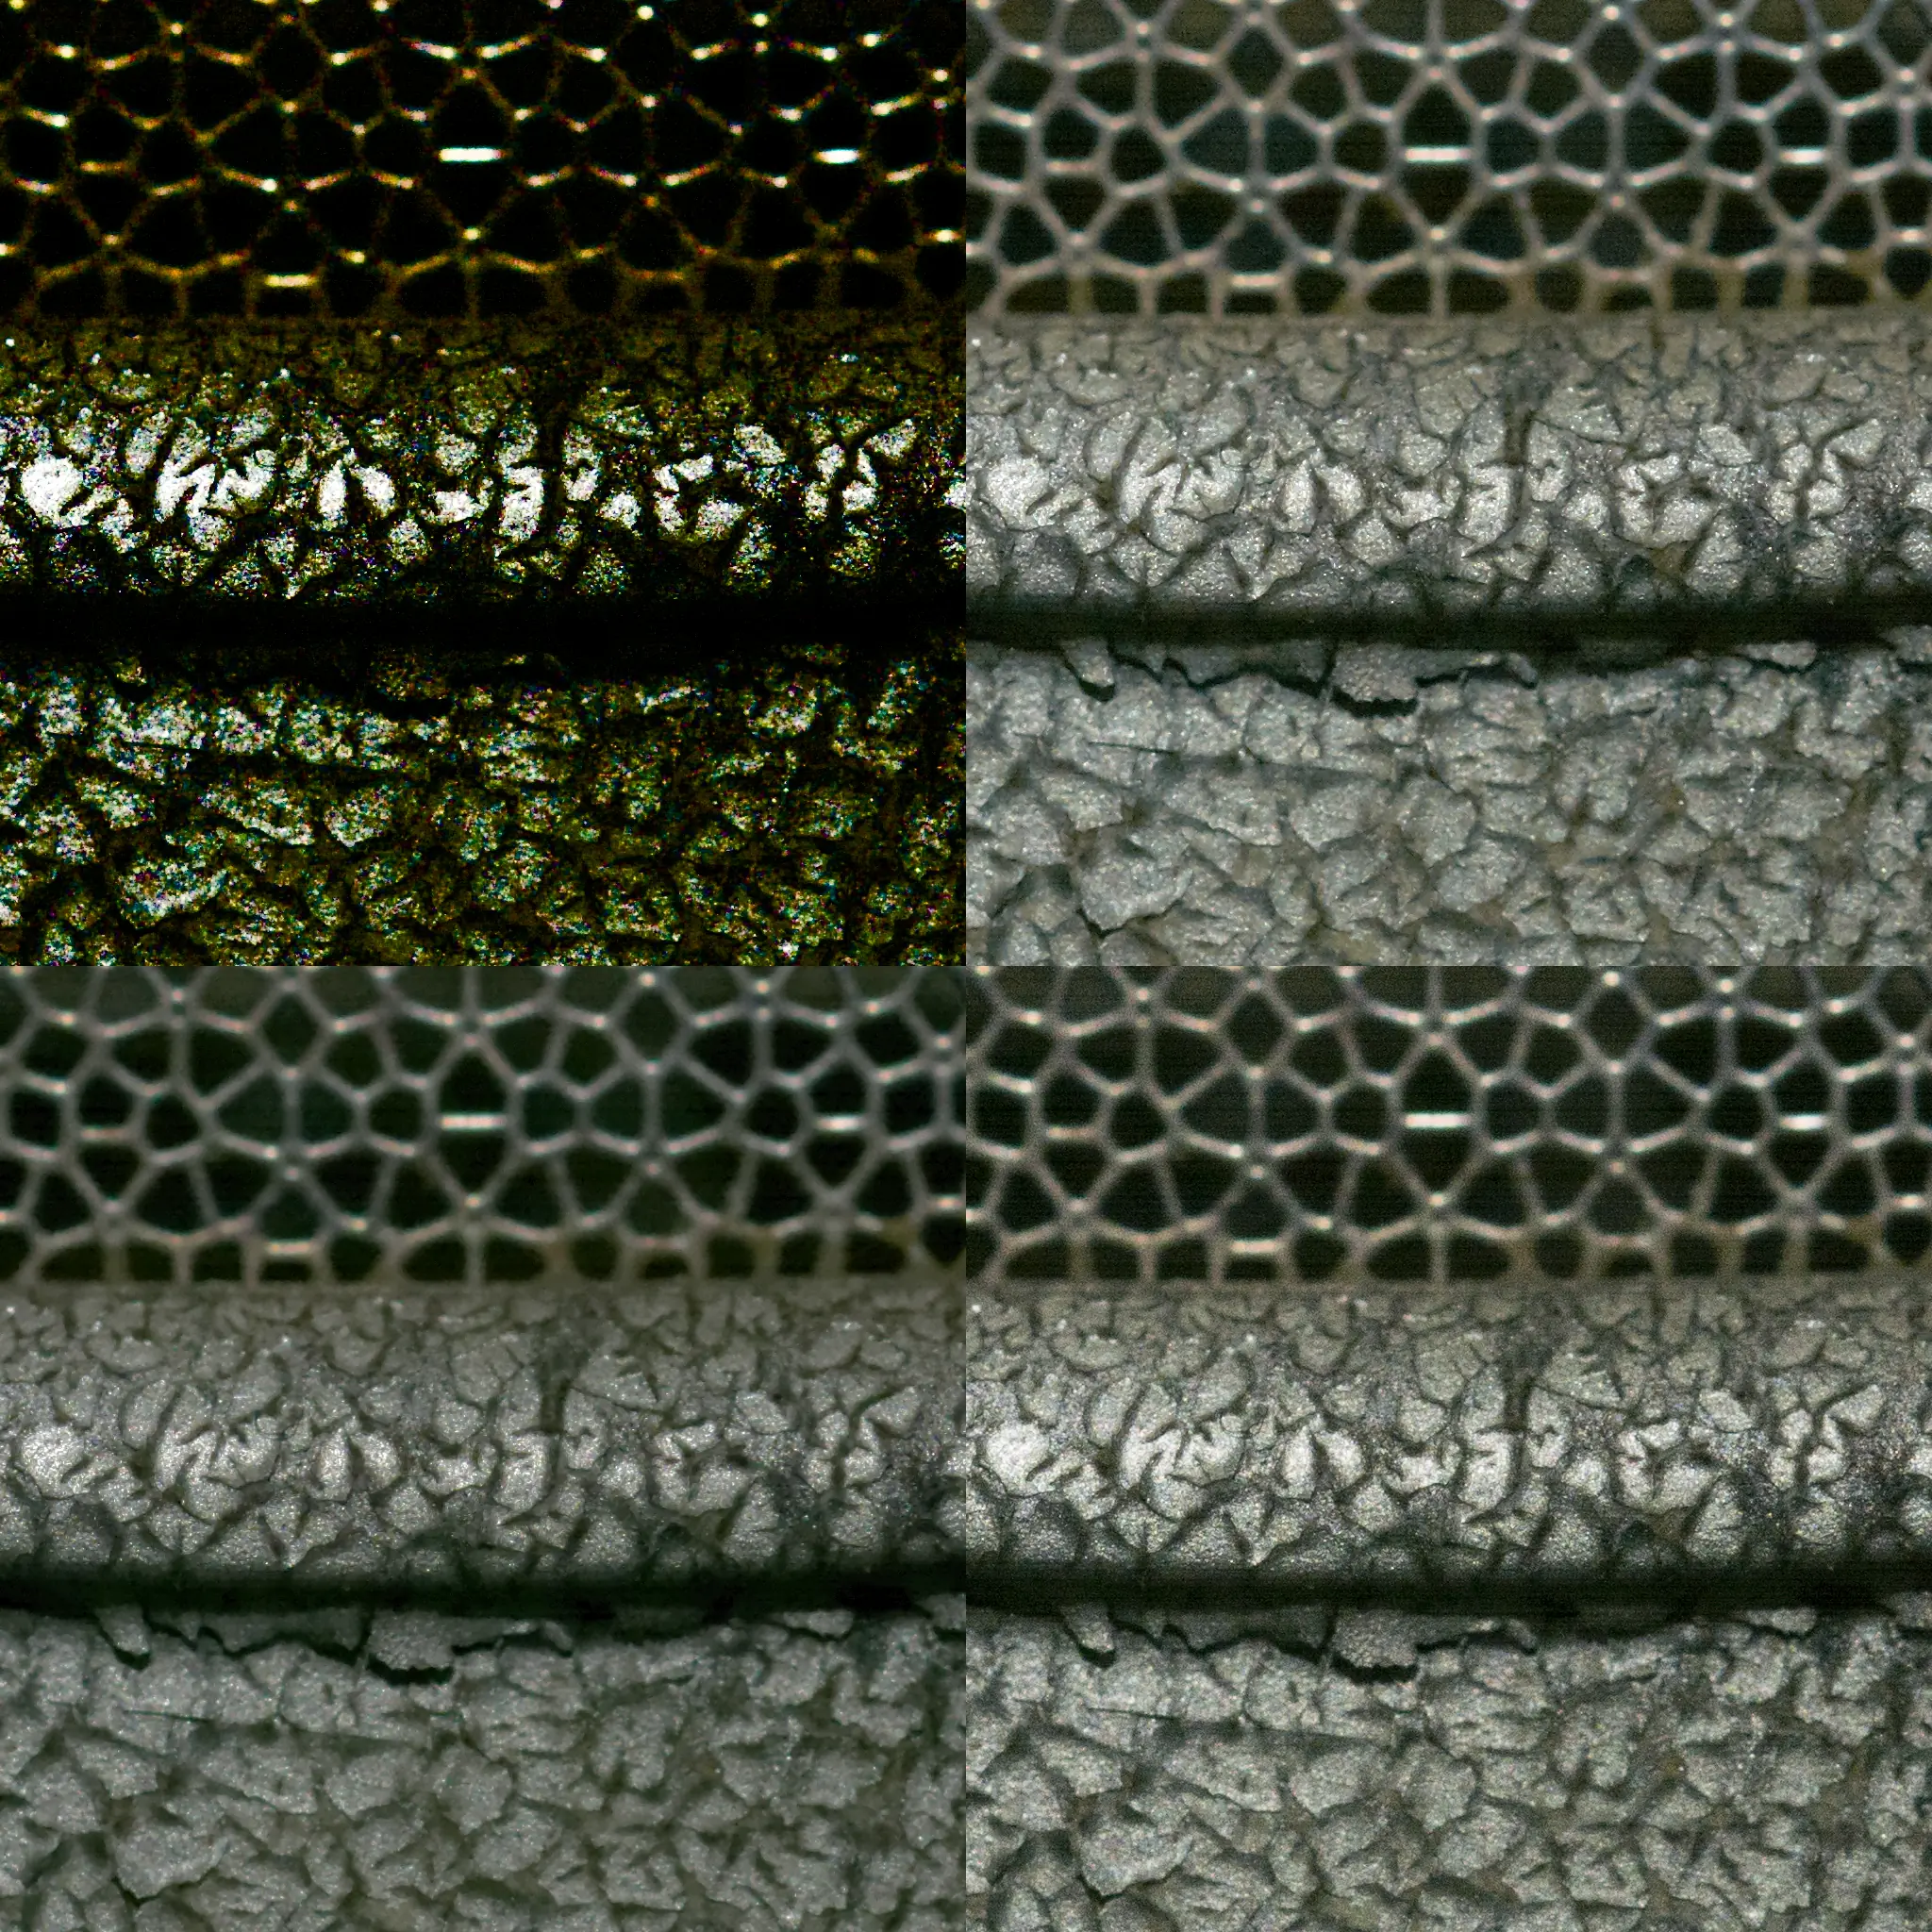
DxO Optics happens to have retained the highlights a bit better, which is fine but remember that I didn’t bother recovering highlights at all, which I’m sure all of them would be able to do just fine (since ‘recovery’ in this sense means merely not so massively lifting them out of shadow).
There’s not much else to say here, though. Aperture is incredibly horrible. And the other three behave much the same as we’ve seen before:
- DxO Optics has gone for very strong noise reduction by default, which has actually rendered the small in-focus area not too badly. But really softened everything else, in a slightly blotchy “I’ve been noise reduced” way.
- Capture One has a more subtle look, that’s actually a little crisper than DxO Optics’, but has significantly more noise and banding visible.
- Lightroom goes even further, with a very noisy and very banded rendition that can perhaps give an illusion of extra detail, though there actually isn’t anything there that Capture One & DxO Optics don’t also reveal.
Again, it looks like the difference is primarily in noise reduction. I’m not going to try to ‘equalize’ their noise reduction settings – from experience that’s highly subjective – but I suspect you could ultimately get similar results, to suit your own taste, from any of Capture One, DxO Optics, or Lightroom.
But you’ll never get anything usable out of Aperture, from this kind of scenario. That one’s dead, Jim.
An update on Aperture
“noirdesir” on DPReview’s forums (and Jim M here in the comments) identified Aperture’s problem: that it’s got a fixed blackpoint which is preventing it from actually bring up any real shadow detail.
Unfortunately I wasn’t expecting to add to this post, so I didn’t save a few key tidbits like the crop coordinates for the two 100% views. But FWIW here’s broadly what you can get out of Aperture if you also adjust the ‘Black Point’ alongside ‘Exposure’:
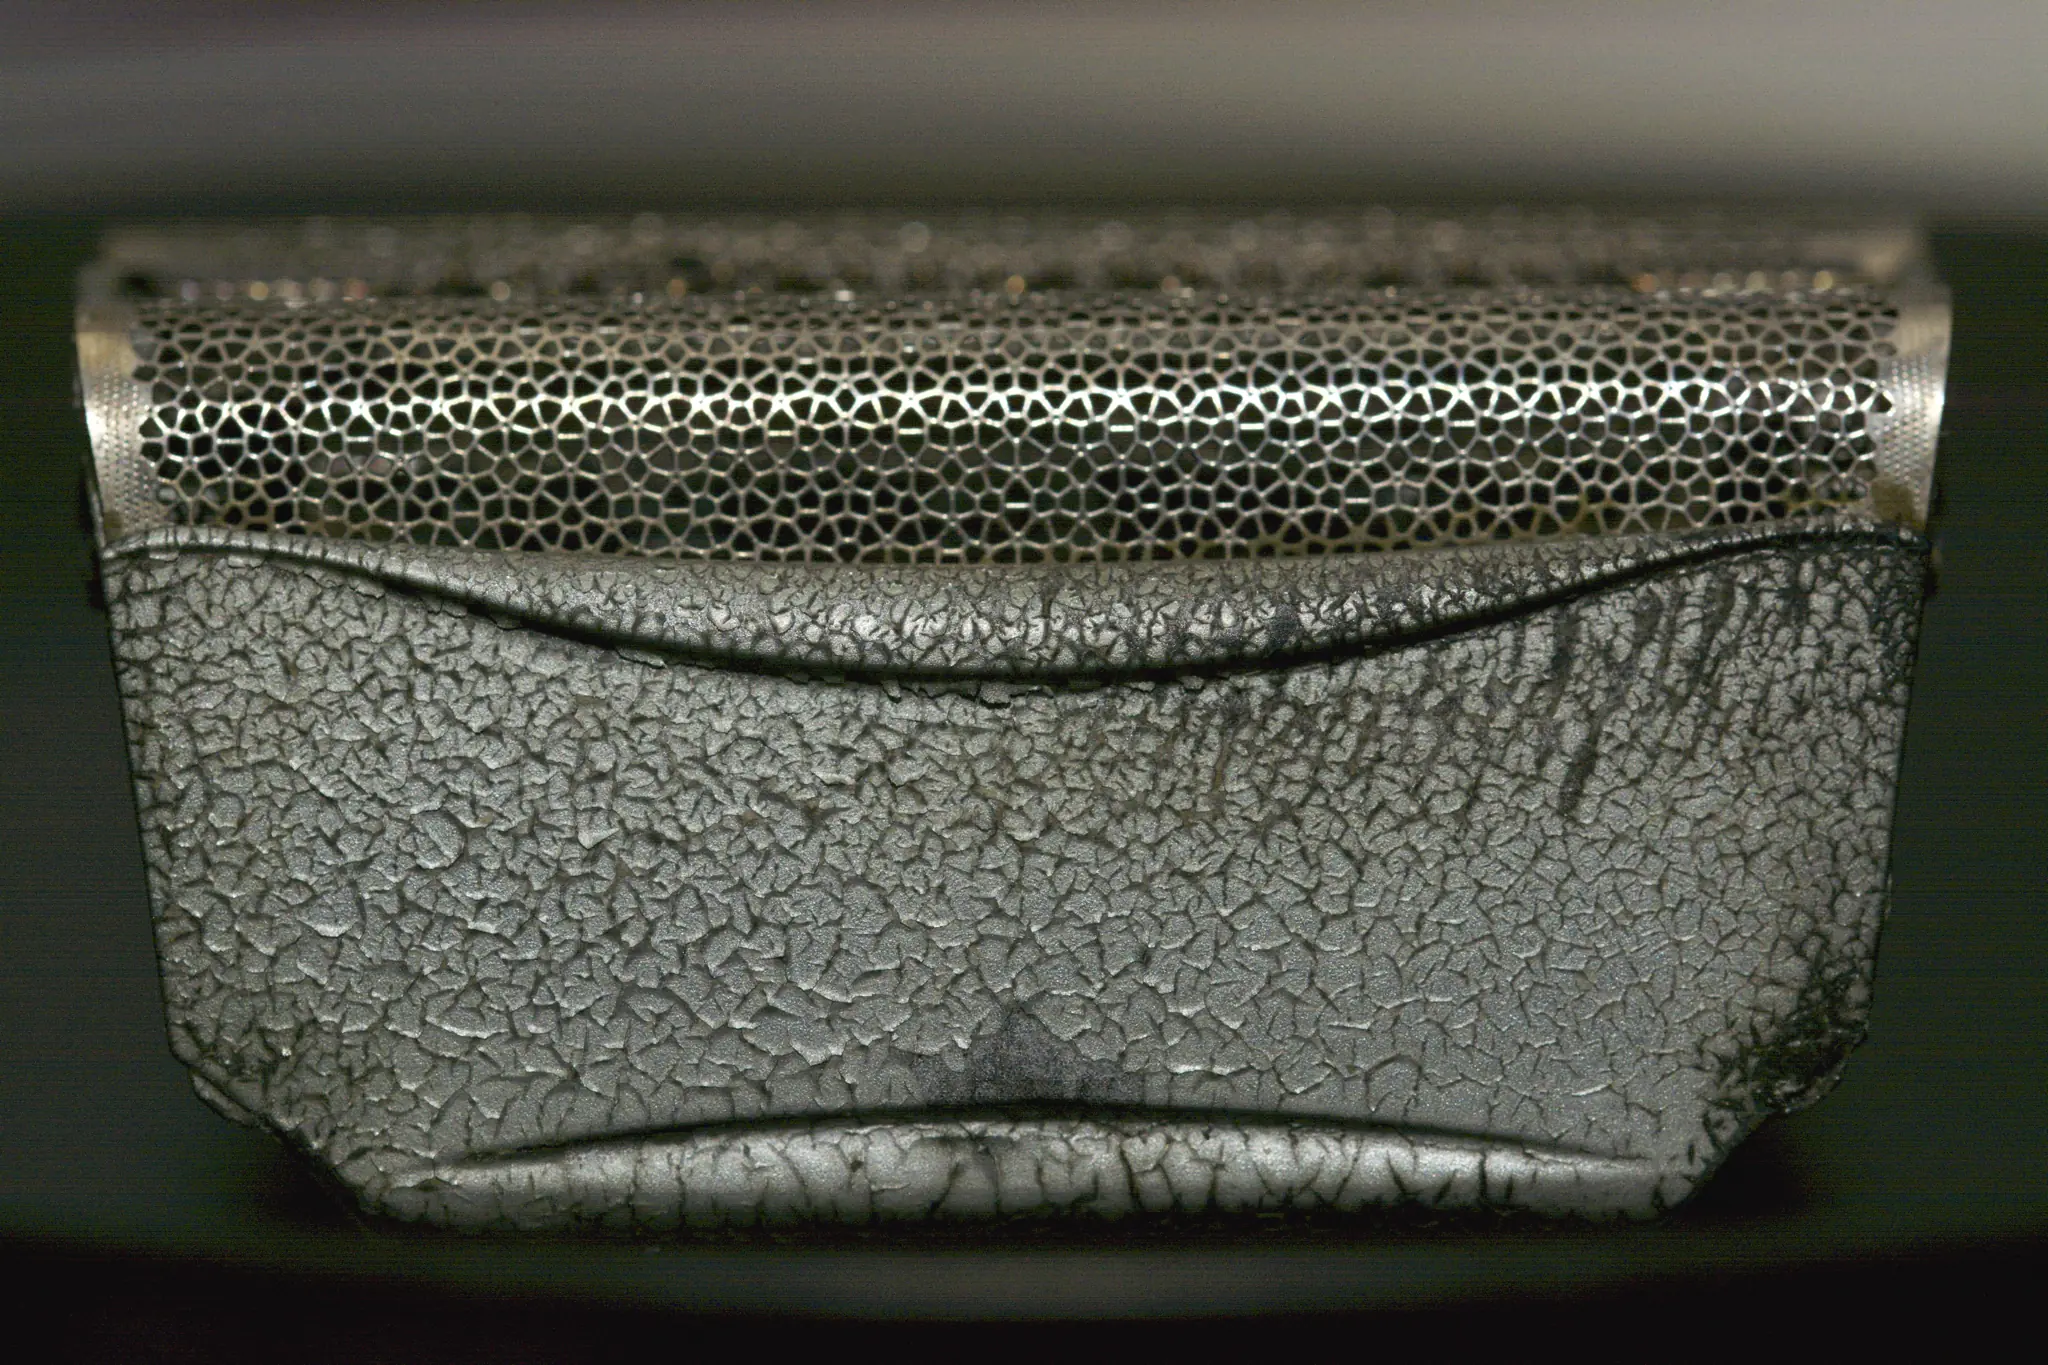
Aperture’s rendition still isn’t as good as any of the other three – it’s much noisier, even than Lightroom’s, and the deepest shadows are still somewhat clipped. The latter may be an imperfect ‘Black point’ setting, though I did spend quite some time playing with it and this was the best that I could seem to get from it, w.r.t. both overall image quality and actually getting roughly the desired exposure.
So after all these years and many images given-up on, it turns out Aperture can actually recover underexposed images to a reasonable degree. It’s just far more fiddly than any of the other raw editors – you have to adjust the ‘Exposure’ slider a little, then the ‘Black point’, and then repeat numerous times to narrow in on the right complementary settings. But even then, the point remains that it still doesn’t do as good a job of it as Capture One, DxO Optics, or Lightroom.

Did you make any attempt to adjust the black point in Aperture? It looks rather obvious (to me) that’s where the failure is.
I had not – I hadn’t realised that Aperture’s ‘Black point’ slider crushed the shadows like this. I’ve updated the post to at least note that this was the problem, and present a more favourable result from Aperture. Thanks for pointing this out!
Is there a foundational premise or workflow theory backing this behaviour?
I’ve never met this kind of thing in any other image editor, of any kind. I find it very unintuitive, and difficult to use. Granted I’ve only just discovered it, so perhaps it’ll become more intuitive with time, but… it does seem at the very least to make (dramatic) shadow recovery exceedingly fiddly. I tried pulling one slider (e.g. ‘Exposure’) first and then the other, but they counter-act with each other and you get weird results. I found I had to move ‘Exposure’ up only portion at a time, maybe 75% of where I think it needs to go, and then adjust the ‘Black point’ to suit, and then repeat a bunch of times, narrowing in on the final settings. Tedious.
Plus, it just doesn’t match how ‘exposure’ works anywhere else. If I double my actual exposure in-camera, e.g. via aperture or shutter speed adjustment, then it doesn’t arbitrarily keep the blacks pulled down. I guess that’s why it’s so unintuitive to me.
For future reference: the ‘Black point’ seems to ‘override’ all other exposure-related adjustments too, e.g. Levels and Curves.
FWIW I have used the ‘Black point’ slider several times in the past, when I found that it worked well enough to adjust shadows / pseudo-contrast a bit. But even then I’d never realised how it was gatekeeping my shadow detail.